Article
Some simple methods of controlling lighting will improve the quality and consistency of clinical records and communication process with patients. It will also provide optimal quality photographs for presentations and professional examinations. In this Trick of the Trade, the simple technique of using backlighting to produce high-quality extra-oral images is discussed.
Clinical photography in orthodontics is fundamental for optimal record keeping, treatment planning, communication and consent.1 Taking clinical photographs also plays an important role in teaching, reflective practice and in supporting clinicians from a medico-legal standpoint.2
High-quality clinical photography relies on optimal patient positioning, the appropriate use of light and the correct application of camera settings.3 Some simple methods of controlling lighting will make a substantial improvement to extra-oral photographs, which will ultimately improve the quality of the clinical records.4 It will also provide high-quality photographs for cases used for any professional examinations and for presentations. Use of a slave flash for backlighting can markedly improve the quality of clinical photographs.
Recommended set up
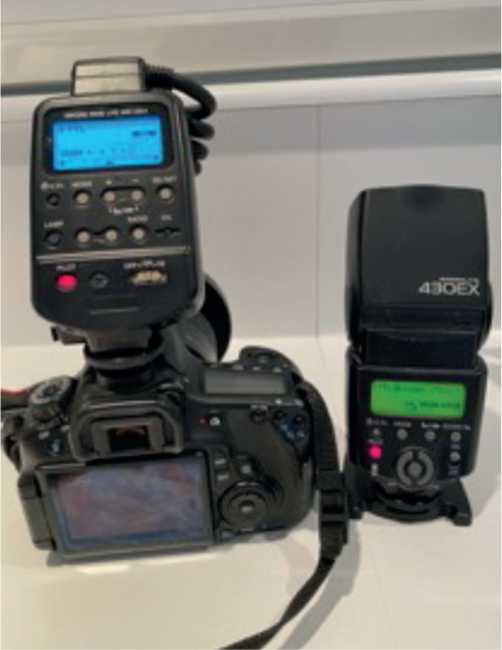
A digital camera (eg Canon EOS 80D) with a macro ring flash (eg Canon MR14EX II) and one slave flash (eg Canon Speedlite, 430 EX III RT) is required (Figure 1).

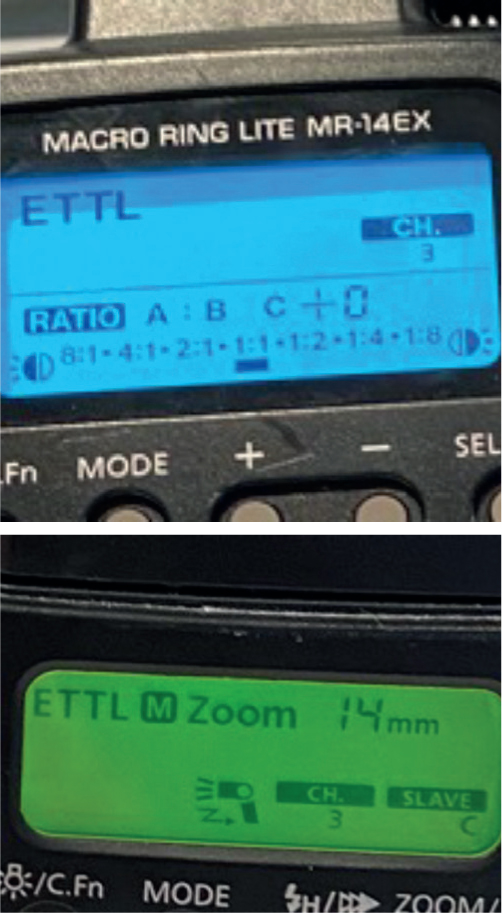
The slave flash is positioned behind the patient, to illuminate them from behind, and also to ‘white out’ the background. Care should be taken to position the slave flash not too anteriorly, to avoid washing out the profile or the underside of the chin. The slave flash and camera are set up to the same channel, to communicate wirelessly, enabling simultaneous discharge (Figure 2).

The use of the slave flash will remove the shadow that is sometimes thrown ahead of the patient's profile, by the ring flash, and will also accentuate the patient's profile.
Figure 3 shows a profile view where a white Perspex screen has been used as the background, but a white roller blind works equally well. In Figure 3a, the photograph was taken with the slave flash whiting out the background, while Figure 3b was taken with no slave flash. Figure 4 demonstrates a profile view with a blue background with (Figure 4a)and without (Figure 4b) a slave flash. Note the shadow cast in front of the subject in Figure 4b. Similarly, in Figure 5, the three-quarter view with slave flash (Figure 5a) and with no slave flash (Figure 5b) can be seen. Again, note the shadow in front of subject in Figure 5b.


